FAILHAPPY
  • Home
  • Tips for Recent College Grads
  • Random Shit

1/13/2017

How to install Lifeproof Vinyl Plank Flooring by yourself

Read Now
 
Picture
Picture
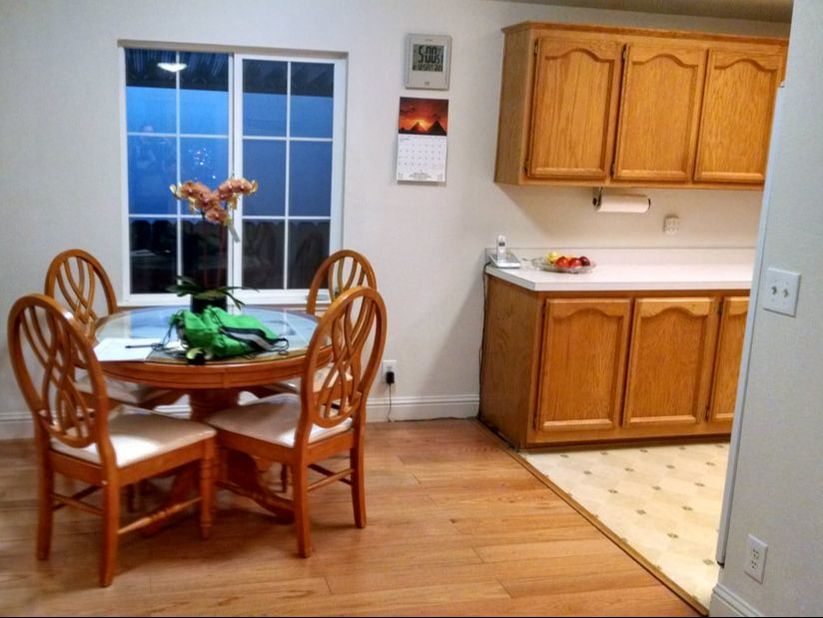
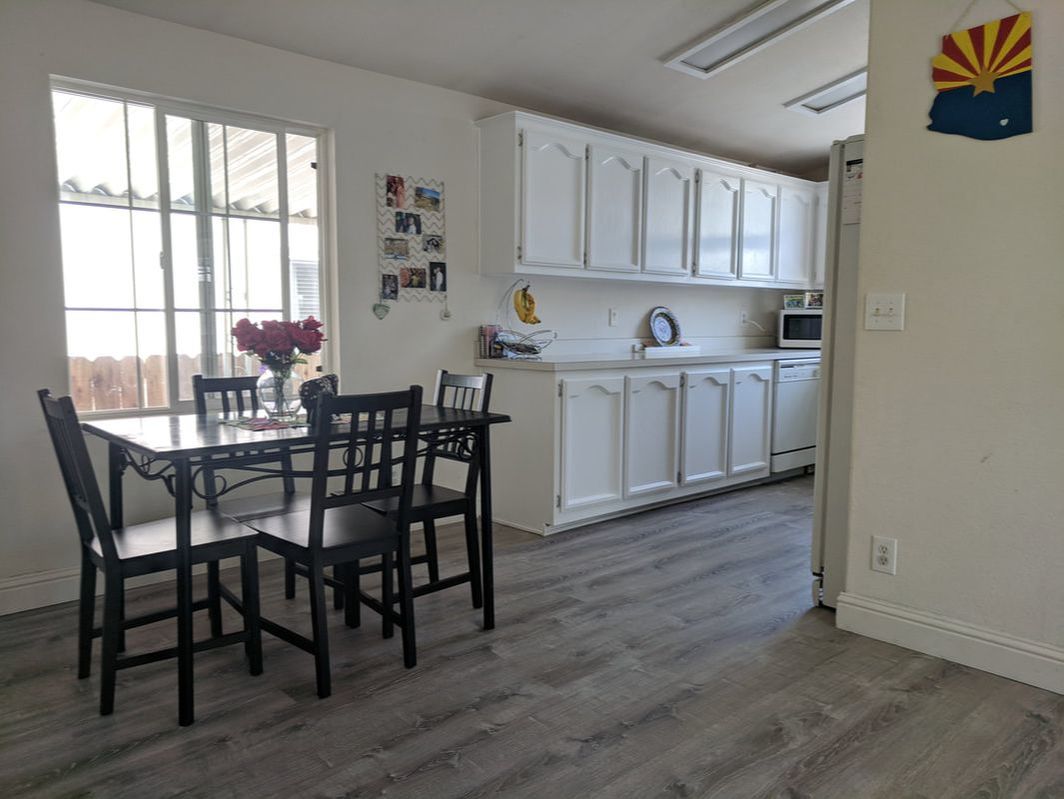
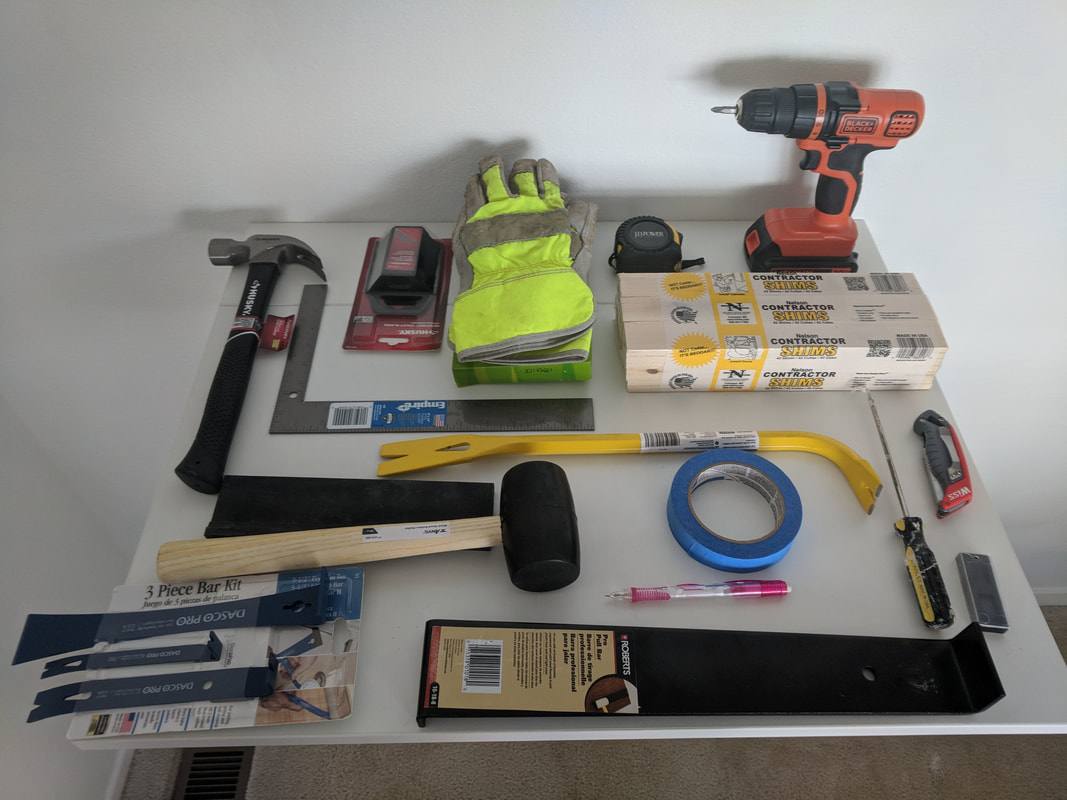
Before | After

For today's life hack: How to Install Lifeproof Vinyl Plank Flooring by yourself (even if you have no experience and suck at home improvement projects)

​TLTR: Installing new floors isn’t hard; I was a 27 year old female with no prior construction experience and did my whole 3br/2ba house by myself. I saved $5000 and gained a lot of confidence. So I know you can do it too (if you’re not a wuss :)

Do your research: When I needed new floors I did a sh*tton of research on flooring options and ultimately landed on Lifeproof Vinyl plank flooring and am very happy with that choice. I wanted a waterproof floor that could go everywhere in my house that I could install myself. You can get them here online or in most Home Depot stores. I’d recommend getting 3 or 4 boxes at a time. It’s ~$2.79/sqft.

Expectation setting: If it’s just you installing I’d recommend pacing yourself: I did one room or hallway per week/weekend. And start with the room that matters the least because it will take a few hours to get your groove and you may make a mistake (gasp). But once you get the hang of it it’s just rinse and repeat.

Materials:
  • Pencil
  • Pry bar set
  • Shims
  • Pull bar
  • Tapping block
  • Hammer
  • Utility knife
  • T square
  • Rubber mallet
  • Kneepads
  • Dremel Multi-Max
  • Lifeproof flooring of your choice

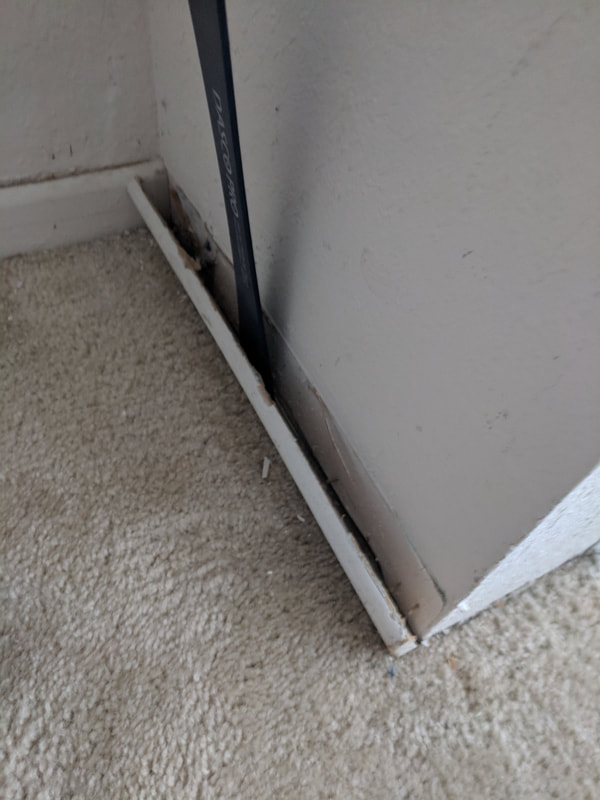
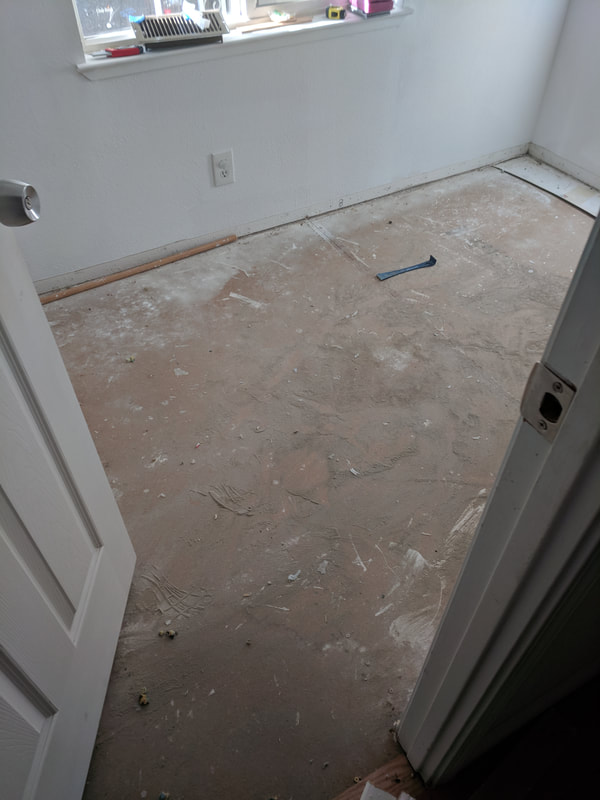
BTW - if you want to paint your cabinets you should do that first - see here.

Instructions:
You need a flat, clean, subfloor surface to install your new flooring. If that is what you are starting with, lucky you! If not, here’s what you have to do:
  1. Remove baseboards (YES YOU HAVE TO DO THIS)
    1. Scoring
      1. Take your utility knife and score the top of the baseboard where it hits the wall. You want a clean line so when you remove the baseboard the paint doesn’t rip off the wall. Press down hard. If you are a visual learner watch 5 seconds of this video
    2. Removing
      1. Take your prybars and hammers and remove your baseboards. If your baseboards are in good enough shape to keep then remove them carefully and label them so it’s easier to put back on later Visual learners: watch 20 seconds of this video
  2. Prep sub-surface
    1. You lay vinyl plank flooring right over your subfloors. If you have other flooring like carpet or laminate you need to remove that first.
      1. Removing carpet is a pain in the a**. But again not hard, just tedious. You’re going to have to rip it up, cut it into pieces, haul it away, then clean up. If you are lucky like me and there are a bajillion staples in the floor and the tacstrips are melted down you have to use your prybar and hammer to get them up. This was honestly the most time-consuming part of this whole process.
    2. Once you have your subfloor showing give it a good cleaning (vacuum and sweep). Ideally you will have nothing on the floors (even large specs of dust can be problematic if they get caught in the tongue and groove of the new floors. Make that floor sparkle!

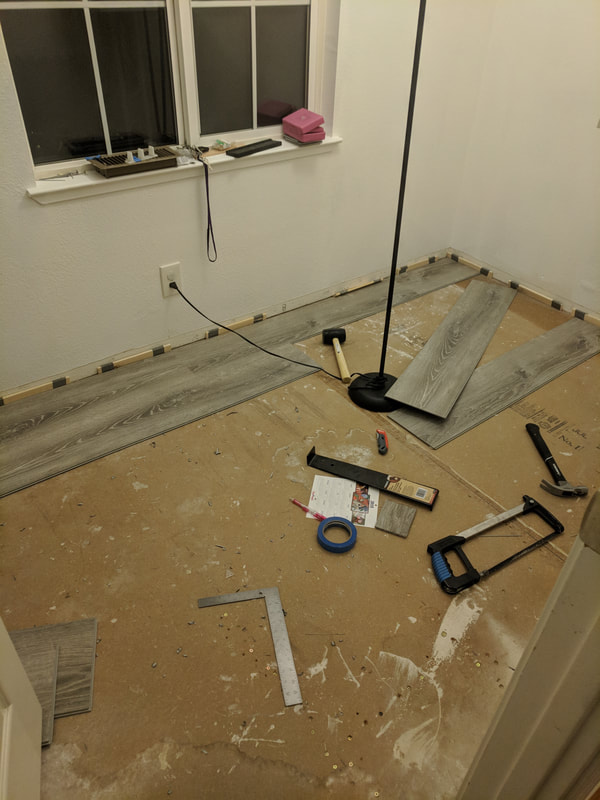
Next, install your flooring:
  1. Pick the smallest, least used room in your house to use as your guinea pig room
  2. Place your shims or ¼ inch spacers all around the walls
  3. If your room is rectangular, face your body to the wall that is longer. You will start in the left corner of that wall. (Note: you have to work left to right but you can start in any corner; just start in the upper left corner of any wall, but it’s recommended to lay the planks parallel to the longest wall; this also makes the room look bigger and is easier to install flooring)
  4. Place your first plank down. That was easy!
  5. In the same row, place your second plank down to the right of your first plank in the tongue-and-groove slot. Use your rubber mallet and give it some taps where they come together. That was easy!
  6. Repeat above until you hit a wall
  7. When you have a plank that is longer than the amount needed, just flip it over and make a pencil mark where it should be cut. Cutting the floors is REALLY easy. Score the line and just snap it.
    1. For you visual learners made a video here
  8. Then do row 2 the same way as above but you have to do the tongue & groove for both sides. You’ll need to use your tapping block to make the planks seamless. The line will literally disappear. Lifeproof flooring is easy to install, but remember if you are forcing it you’re doing it wrong.
    1. For you visual learners made a video here
  9. Repeat above until you come across something hard like a closet or protruding wall. For that all you have to do is dust off your 3rd grade math skills and outline where you need to cut and cut it with your Dremel. Toilets are bit harder because they are usually oval-shaped but again just use some math and/or trace it out and cut with your new best friend Mr. Dremel
Notes:
  1. Make sure you leave a ¼ inch gap between any wall and flooring. This is needed so the floors can expand and contract with the changing temperatures/weather. Don’t leave too much space between the floor and wall or else your baseboard won’t cover the gap
  2. Make sure to leave about a 1-inch gap between the flooring in each room where you will put your t-molding. It is recommended to do a transition mold for each bedroom/area that has a door closing it off

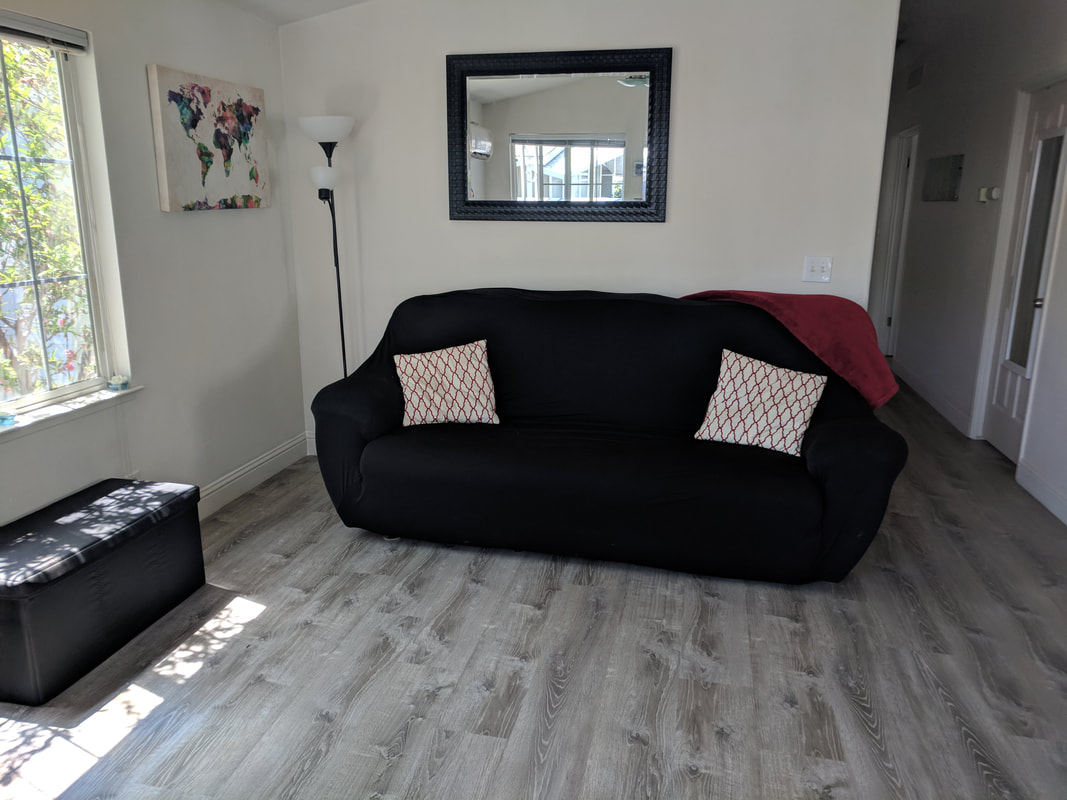
Finish it off by putting the baseboards back on:
  1. Since you were smart and labeled your baseboards putting them back on is easy. You can either nail them in yourself or be super awesome and rent a nail gun (lots of fun).
    1. Note: You may want to paint your baseboards if needed before re-installing (or get new ones if your weren’t salvageable).
  2. Caulk the seams/edges (DAP Alex Plus will be your best friend)


AND YOU ARE DONE! YOU ARE A BADASS MOFO. Now invite over a bunch of friends so they can admire your new floors and how awesome you are. 

Share


Comments are closed.
Site powered by Weebly. Managed by Bluehost
Photos from Orchids love rainwater, cafecredit, Tambako the Jaguar, k.oh.ey, Rod Waddington, Toolstotal, Jim Larrison, vwcampin
  • Home
  • Tips for Recent College Grads
  • Random Shit